There are many things that you can configure on your gateway, but generally you will only have to change a few things from the default configuration to have a ready to use platform.
The essential configuration points are:
- Configure the network interface
- Change the password
- Set the time zone
- Setup the LoRa configuration
- Select and configure a forwarder
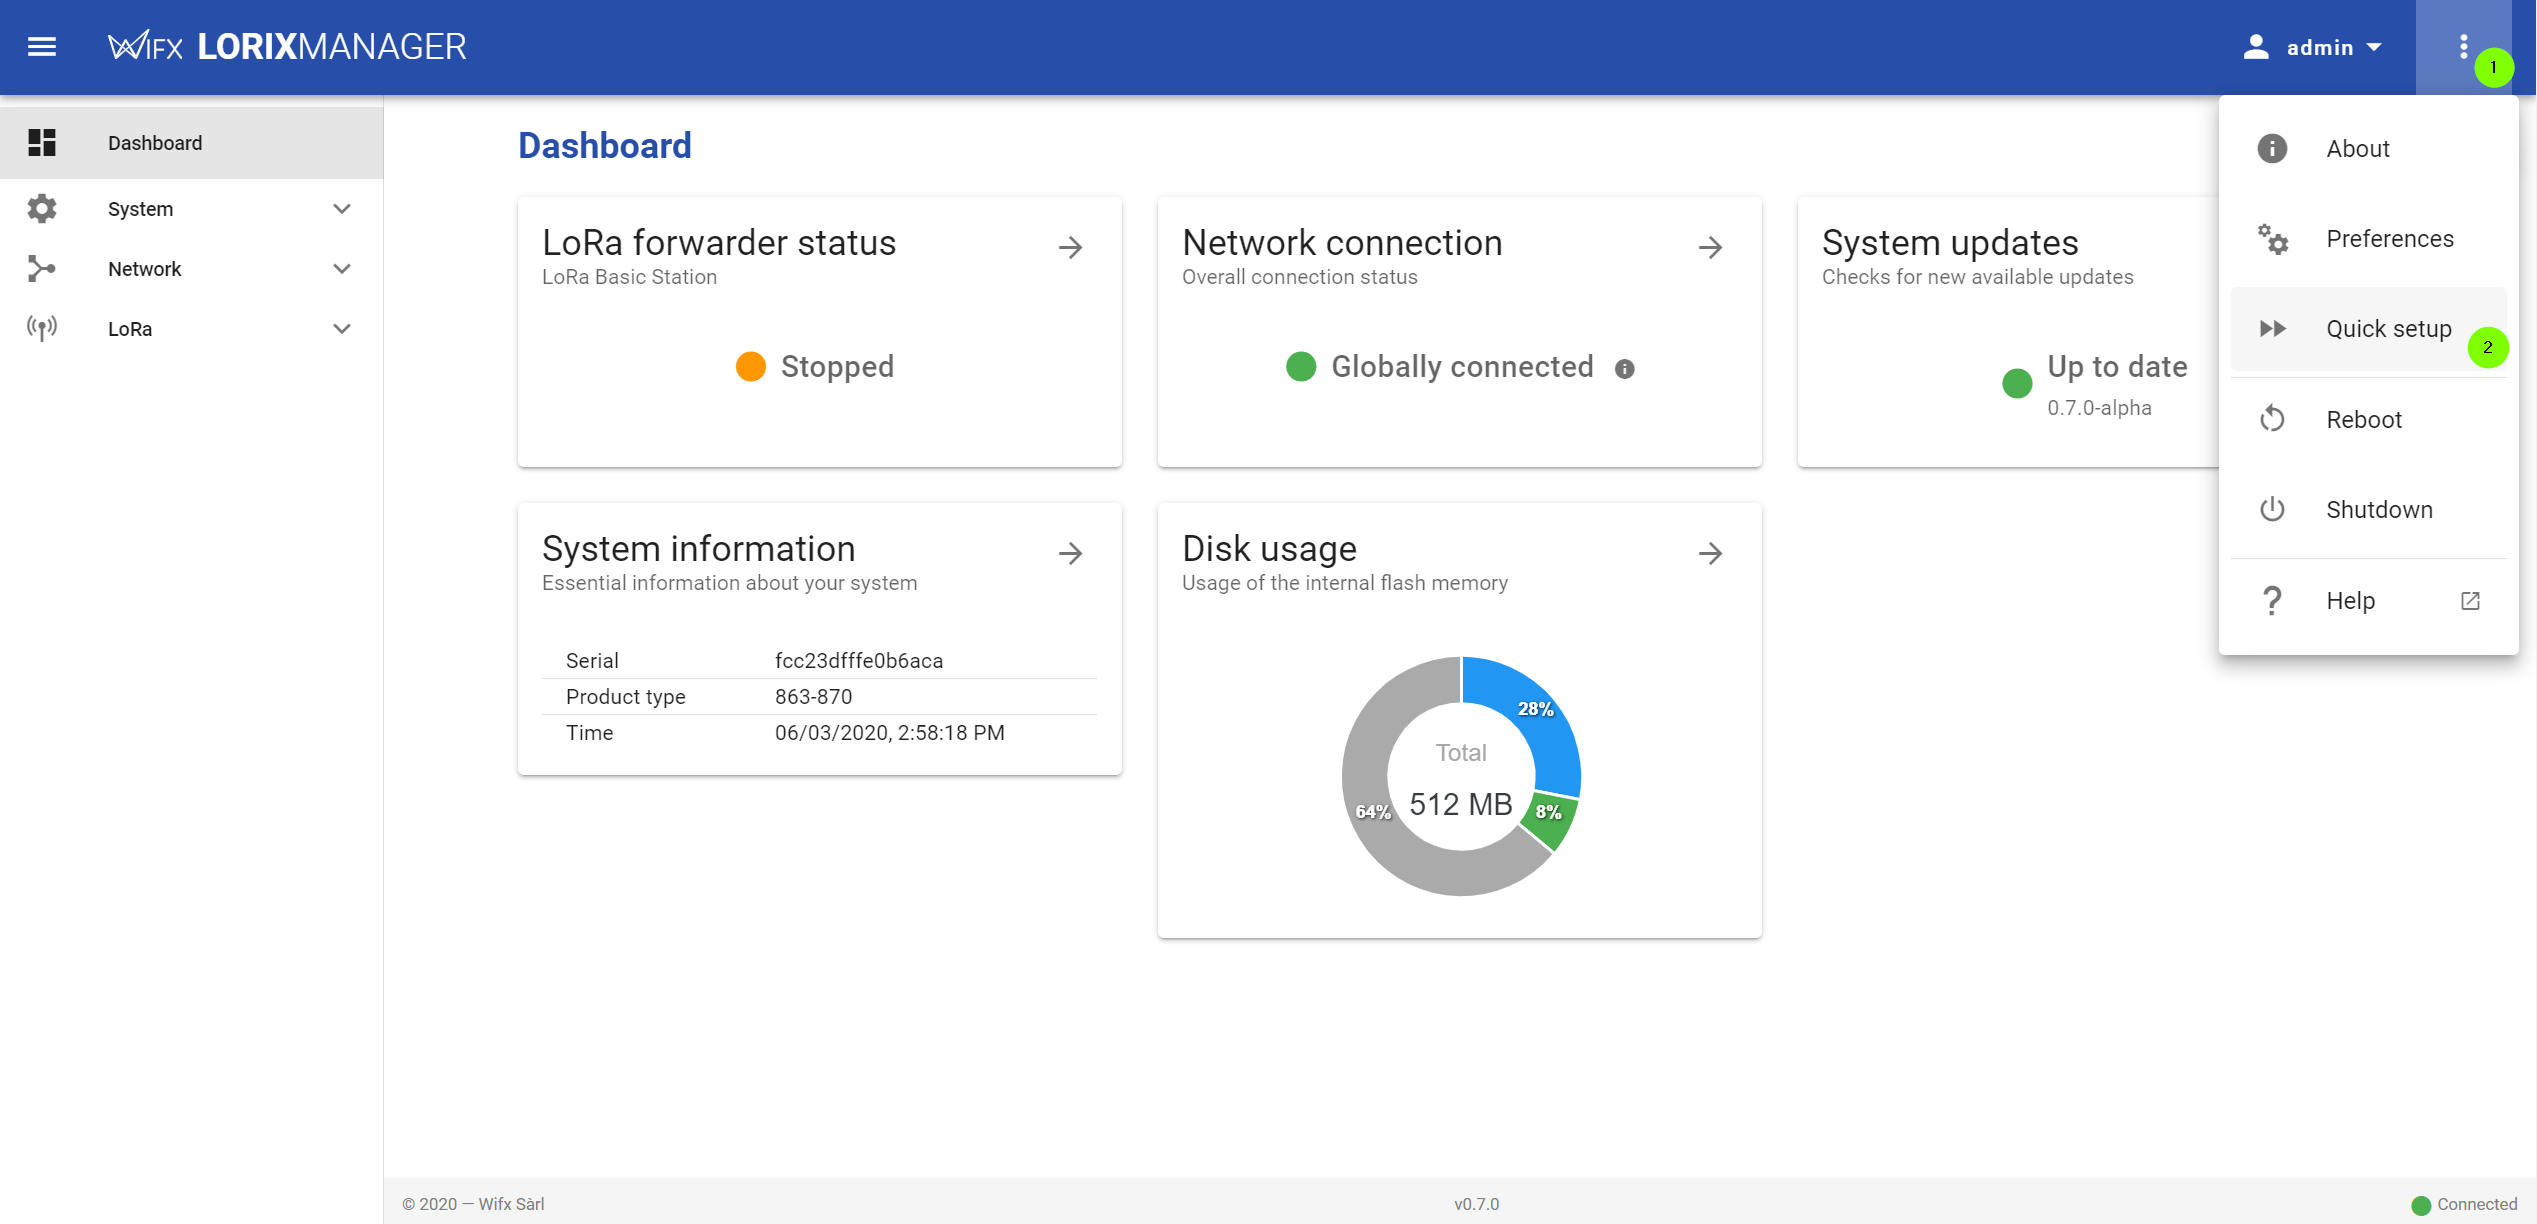
Using the quick setup
The Manager UI provides a quick setup wizard that will help you to go through the essential configuration steps. To open the Quick Setup, open the GUI top-right menu and click "Quick setup".
In the Connect to the gateway page of the guide you learned how to reach the gateway. You can now setup a correct network configuration so that you can ensure future remote connections to the gateway.
Please jump to the Ethernet interface configuration page for the details.
Change the password
Change the default password to restrict the access to the gateway from the user settings page.
From the "admin" user menu in the toolbar (top-right of the GUI), click "Settings".
You can change the password from this page.
To change the password from CLI, run:
If asked, type the sudo password, and then enter the new password (2 times):
$ sudo passwd
Password:
New password:
Retype new password:
passwd: password updated successfully
BASH
Set the time zone
To ensure your logs are correctly timestamped from the beginning, set the correct timezone in the Regional configuration.
Setup the LoRa configuration
Configure the Region and the Antenna of the gateway in the LoRaWAN configuration.
Because there are so many various needs behind the LORIX One usage, there is no default LoRaWAN packets forwarder enabled. To setup a packet forwarder, go through the LoRaWAN chapter of this guide.