LORIX Remote Upgrade tool
Introduction
Your LORIX One may not always be accessible through the USB port, for example when it's installed in the field.
For this reason, we've created the LORIX Remote Upgrade Tool, an automated command line tool which will guide you during the upgrade process from the legacy firmware to the LORIX OS.
The Remote Upgrade Tool is not as safe as the LORIX Programming Tool, so please read carefully the documentation and make sure you understood all the risks before starting the upgrade process.
This is needed only the first time. Once the LORIX OS is installed, you will be able to do OTA updates.
Before you start
Prerequisites
- A LORIX One running the legacy firmware and with access to the Internet
- A computer with a terminal that has access to the LORIX One to update
Features
- The network parameters are migrated from the legacy firmware to the LORIX OS
- The process can be done remotely or at least using the network interface (see Limitations)
- The process is easy and automated: only a few clicks and you are ready to configure and use the new system
- Works for 256MB and 512MB LORIX One versions
Limitations
- Supports only simple network configuration migration
- The others parameters like user/password and LoRa forwarder configuration are not migrated (it requires a second step to configure these aspects from the LORIX OS)
- Complex network configurations like VPN are not supported
- The process is not power failure safe
- There is multiple steps and the process is long (10 minutes to more depending on the connectivity bandwidth to internet)
- The upgrade will always be done to LORIX OS v1.0.1. You can then upgrade manually to the latest versions with the standard LORIX OS upgrade process.
The upgrade process using the LORIX Remote Upgrade Tool is risky:
- It may fail and put the gateway in a non operating software state. It would then need to be flashed with the LORIX Programming Tool.
- You may lose remote access to the gateway.
- Wifx is not, in any case, responsible for any issue you may have using it.
Although the Remote Update is risky regarding the software and operational point of view, you have no risk of damaging the hardware in an irreversible way. Using the Remote Update tool does not void the warranty.
If you are interested to dive deeper in the upgrade process, to understand better why there is such limitations, you will find more information in the Architecture and challenges page.
Upgrade process
Fix the certificate issue
Due to a Let's Encrypt certificate issue, you may not be able to download utilities and other resources from our website.
You need first to fix this issue as explained in this troubleshooting page.
Download and install
The first step is to download the tool in the legacy firmware system.
Connect to the gateway through SSH as usual and ensure you are in your home directory:
cd ~Download the tool and make it executable:
wget https://dl.wifx.net/lorix/tools/remote-upgrade/lorix-os/run && chmod +x runYour home directory (/home/admin) contains now the first step tool (called "run") of the upgrade process.
If you get a wget error (-5), this is due to SSL certificate checking error, probably because your system time is not correct.
To update your system time, run the following commands:
sudo /etc/init.d/ntpd stop
sudo ntpd -gq
sudo /etc/init.d/ntpd startConfigure and start the process
You can start the upgrade process running the previously downloaded tool:
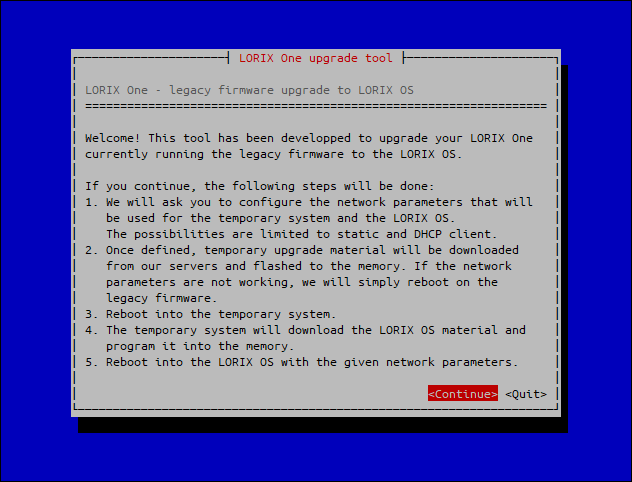
sudo ./runWelcome and usage warnings
The following Terminal User Interface (TUI) will appear as a welcome message page:
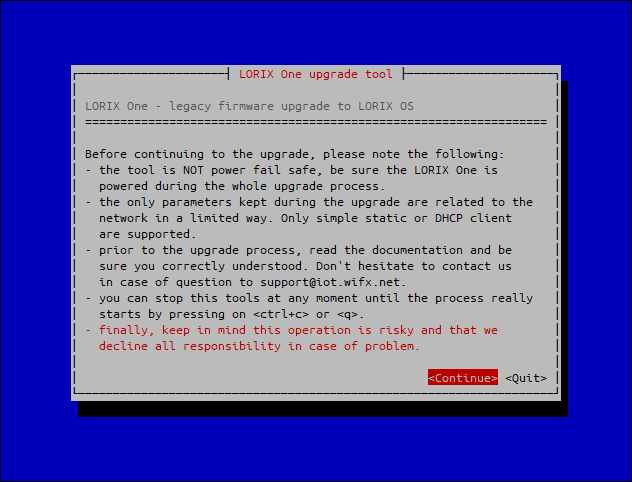
The next menu is related to usage warnings as previously announced here:
Network configuration
The third menu is the network configuration. As previously said, you have the choice between static and DHCP methods:
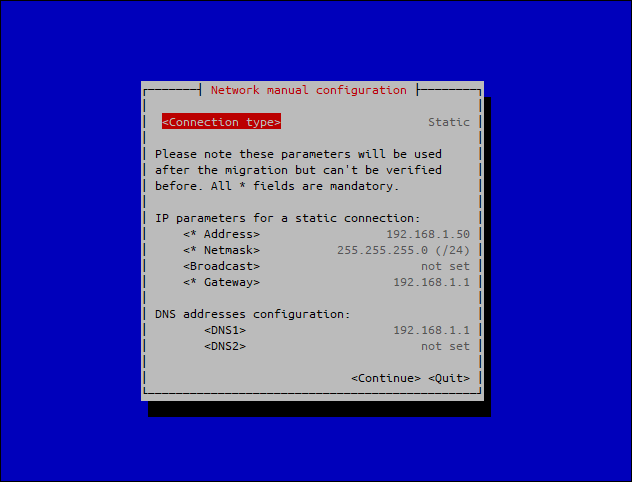
With the static method, the gateway IP address is not used as DNS by the system by default. If you don't use external DNS and plan to use the network gateway as DNS, be sure you set the DNS1 with your gateway's IP address as displayed here.
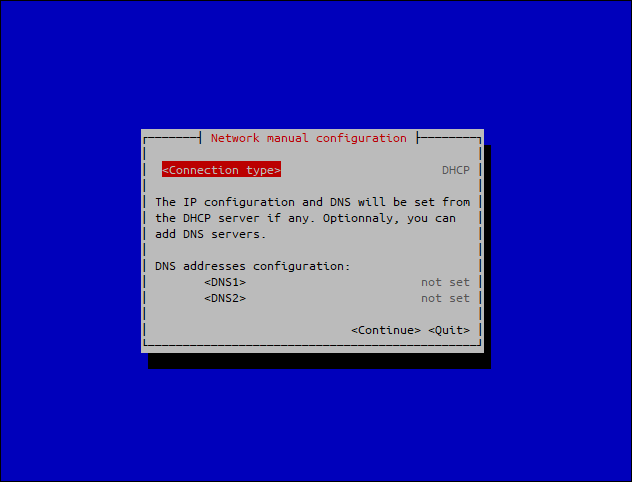
With the DHCP method, the DNS is probably given directly by the DHCP server during the lease negotiation and thus not required. In all cases, you can have additional DNS if required, they will be used aside the DNS given by the DHCP server.
The upgrade tool will try to detect automatically the current network parameters of your system, please note the following:
- You are still responsible to verify that the detected parameters are correct
- Most of the time, it's better to use the current parameters and not try to modify them (e.g.: Switch from static to DHCP) during the upgrade process
- In case the parameters are not working, the upgrade tool will abort the process and come back to the legacy firmware (reversible)
Once the network configuration is defined and verified, you can validate it with the <Continue> button.
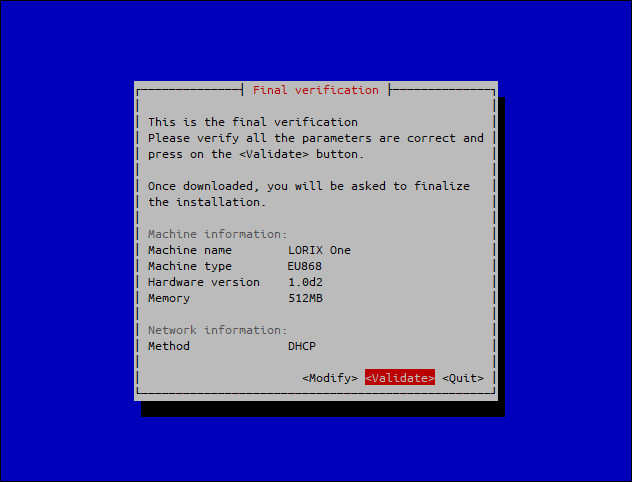
Verification menu
The final verification menu will appear and summarizes detected machine and network parameters.
Press on the <Validate> button when verified:
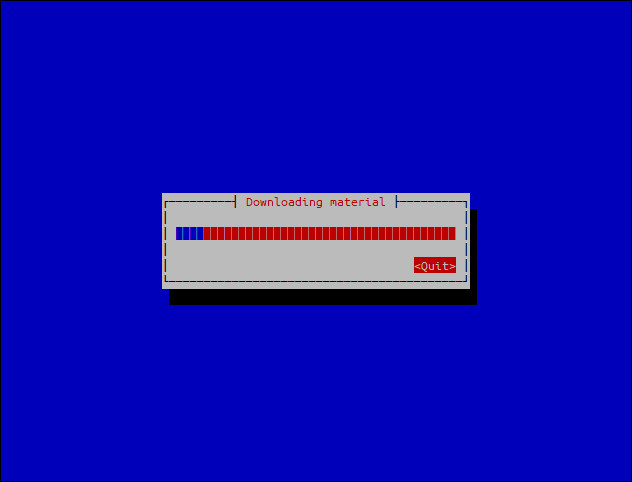
Download material
The process will start downloading the upgrade material.
Start the upgrade
Once material downloaded, the final validation window will appear:
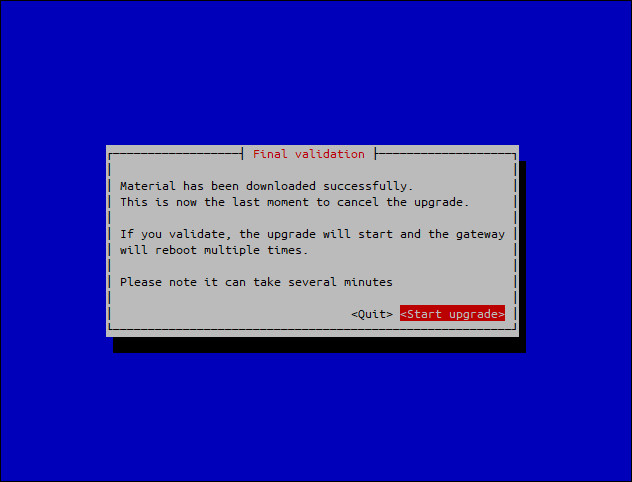
This is the last time to cancel the upgrade. Be sure the parameters are fine and don't power off the gateway until the end of the process.
The upgrade process is complex and long:
- it will reboot three times
- with a good connectivity to internet, it will take more than 10 minutes to download the rest of the material (more than 150MB)
Verification
There is no way to follow and check the progress of the upgrade process in "real time", the only possibility to have insight is by reaching the gateway using SSH as usual.
The password is not migrated during the process. You can still use your personal password in case of error (coming back to the legacy firmware) but you need to use the default one (admin/lorix4u) in the LORIX OS (remote-upgrade and final).
You can have four different results trying to reach it:
The gateway is being rebooted or still running the upgrade process.
Be patient, if you can't reach the gateway after some time, keep in mind the process can be long.
An error occurred during the reversible part of the process. You can check the error as described in the error handling section.

Because of the memory layout, the process update starts by installing a reduced version of the LORIX OS which will install itself the final system. The version of this LORIX OS is suffixed with +remote-upgrade.
In this case, you just need to wait on this final installation without modifying anything.
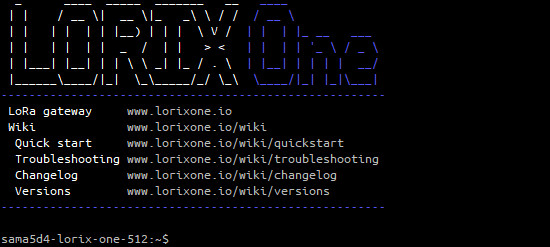
You are done!
Final touch
After the upgrade process has completed, the LORIX OS is now running on your LORIX One. You can use the web interface or reach it through SSH as explained in the LORIX OS's documentation.
However, the configuration is not complete and you still need to change the password, select the right antenna and configure the LoRa forwarding aspects.
Error handling
As long as an error occurs during the reversible part of the upgrade process, the system will simply reboot and come back the legacy firmware. This kind of errors is most likely due to a bad network configuration or simply a network timeout. The process should probably be restarted with correct network parameters.
If this occurs, you can have more information regarding the error by running the upgrade process application with the -s (--status) argument (still from your home directory, where you downloaded the tool):
sudo ./run -sBefore any upgrade attempt, it will return this message:
No status available for previous upgradeIn case of wrong network parameters, the following error could be returned for example:
Previous upgrade status:
try to restart network failed
code:
1
result:
ifdown: interface lo not configured
ifdown: interface eth0 not configured
ip: RTNETLINK answers: Network is unreachable