ChirpStack
Setup the infrastructure
To setup a complete ChirpStack stack, please refer to the official documentation.
Register the gateway in the ChirpStack server
Once the server is running, register the gateway from the ChirpStack GUI.
Setup the ChirpStack Gateway Bridge
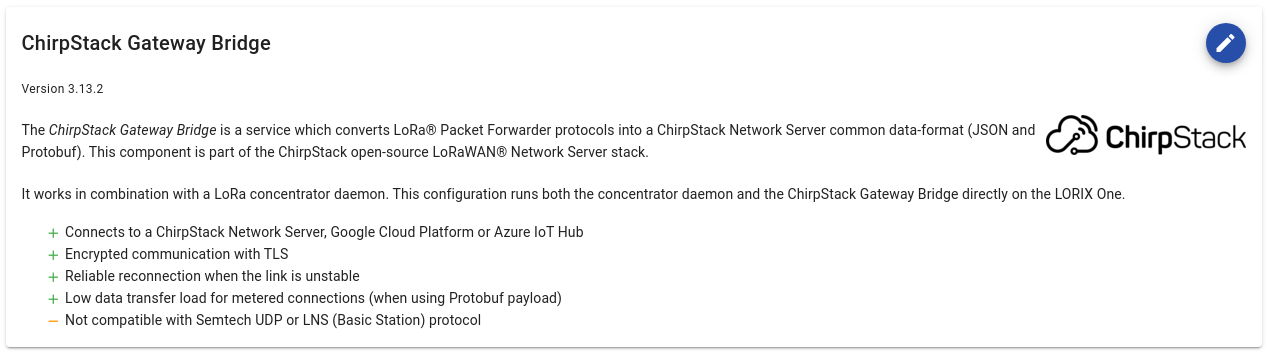
With ChirpStack, the gateway will communicate with a single software component: the ChirpStack Gateway Bridge.
ChirpStack offers two possibilities:
- Running the Gateway Bridge on the gateway
- Running the Gateway Bridge on the server
We recommend running the Bridge on the gateway directly. This guide proposes this solution. If you want to run the Bridge on the server, please use the UDP Packet Forwarder (Semtech) configuration and refer to the ChirpStack documentation.
Activate the bridge
You can now connect to the gateway to enable the ChirpStack gateway bridge as the active forwarder. It is already installed on your gateway.
- On the LoRa > Forwarder page, use the top right edit button.
- In the “Change forwarder” popup, select the ChirpStack Gateway Bridge and press Apply.
Now that the ChirpStack Gateway Bridge is the active forwarder, you can see his two configuration sections:
- LoRa concentrator daemon configuration
- Bridge configuration


sudo manager lora forwarder set chirpstack-gateway-bridgesetting active forwarder to 'chirpstack-gateway-bridge'... done
Configure the bridge
Backend and frontend
The ChirpStack Gateway Bridge, the front-end, does not access the hardware directly, instead it interacts with a packet forwarder on the gateway, the back-end.
The default configuration of the gateway already connects the back-end to the front-end through the port 1700.
About localhost
The default address for the back-end and the front-end to communicate is set to 127.0.0.1. This address is called 'localhost' (or loopback address) and is assigned by default in any device. Keeping this address will always make the back-end and the front-end communicate internally on the gateway only.
Configure the front-end
Use the edit button on the right in the "Bridge configuration" section.
In the "Integration configuration" > [integration.mqtt.auth.generic] section, update the server, username, and password fields with the address of your network server and the credentials configured on the server and save the configuration.
Example
# See https://www.chirpstack.io/gateway-bridge/install/config/ for a full
# configuration example and documentation.


# Integration configuration.
[integration]
# Payload marshaler.
#
# This defines how the MQTT payloads are encoded. Valid options are:
# * protobuf:  Protobuf encoding (this will become the ChirpStack Gateway Bridge v3 default)
# * json:      JSON encoding (easier for debugging, but less compact than 'protobuf')
marshaler="protobuf"

  # MQTT integration configuration.
  [integration.mqtt]
  # Event topic template.
  event_topic_template="gateway/{{ .GatewayID }}/event/{{ .EventType }}"

  # Command topic template.
  command_topic_template="gateway/{{ .GatewayID }}/command/#"

  # MQTT authentication.
  [integration.mqtt.auth]
  # Type defines the MQTT authentication type to use.
  #
  # Set this to the name of one of the sections below.
  type="generic"

    # Generic MQTT authentication.
    [integration.mqtt.auth.generic]
    # MQTT server (e.g. scheme://host:port where scheme is tcp, ssl or ws)
    server="ssl://lns.company.com:1883"

    # Connect with the given username (optional)
    username="fcc23dfffe0b6aca"

    # Connect with the given password (optional)
    password="UO3FgyeOBuXl"
For advanced configuration, please refer to the the ChirpStack documentation.
The bridge "integration" configuration is stored in the /etc/opt/chirpstack-gateway-bridge/30-integration.toml file. You can edit the file with:
sudo nano /etc/opt/chirpstack-gateway-bridge/30-integration.tomlConfigure the back-end
Use the edit button on the right in the "LoRa concentrator daemon configuration" section.
You can update the Gateway ID if needed, but by default it's already specific to each gateway.
For advanced configuration, please refer to the the UDP Packet Forwarder (Semtech) documentation.
The back-end configuration is stored in the /etc/opt/udp-packet-forwarder/gateway/chirpstack-gateway-bridge folder.
As for the UDP Packet Forwarder (Semtech), the configuration is the merge of two files :
- gateway_global_conf.json
- gateway_local_conf.json
You can edit the file with:
sudo nano /etc/opt/udp-packet-forwarder/gateway/chirpstack-gateway-bridge/gateway_global_conf.json
or
sudo nano /etc/opt/udp-packet-forwarder/gateway/chirpstack-gateway-bridge/gateway_local_conf.jsonStart the bridge
Press the Start button
You can Start the forwarder using the manager with :
sudo manager lora forwarder chirpstack-gateway-bridge startChirpStack Gateway Bridge forwarder has been started
The bridge will connect to the server and you will start seeing the LoRa traffic in the ChirpStack dashboard.