Ethernet interface
Default configuration
By default the LORIX One is configured to receive an IP from the local DHCP server.
In 0.4.0, the connection did fallback to a static addressing if it received no DHCP lease. This is not the case anymore as it could lead to unexpected disconnection on production gateways.
Configure the ethernet interface
Network configuration change
If you’re remotely configuring your gateway, please be very careful when you edit the network configuration as a wrong configuration may bring the gateway offline.Dynamic addressing
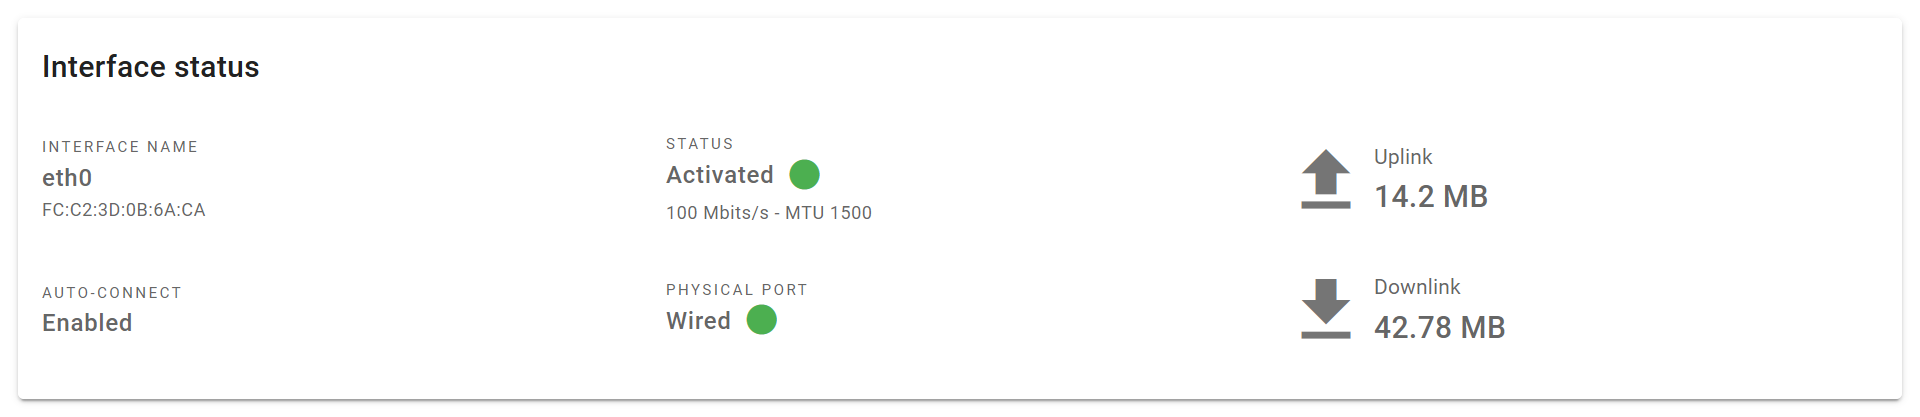
The Network > Ethernet page allows you to edit the IP configuration of the main interface.
You can use the default backhaul configuration available on the gateway:
sudo nmcli connection up backhaulIf you need to change some parameters, we suggest using a new profile:
sudo nmcli -a connection add type ethernet con-name custom ifname eth0 method auto connection.autoconnect-priority 10The new profile is stores in /etc/NetworkManager/system-connections.
To enable this profile, use:
sudo nmcli connection up customStatic addressing
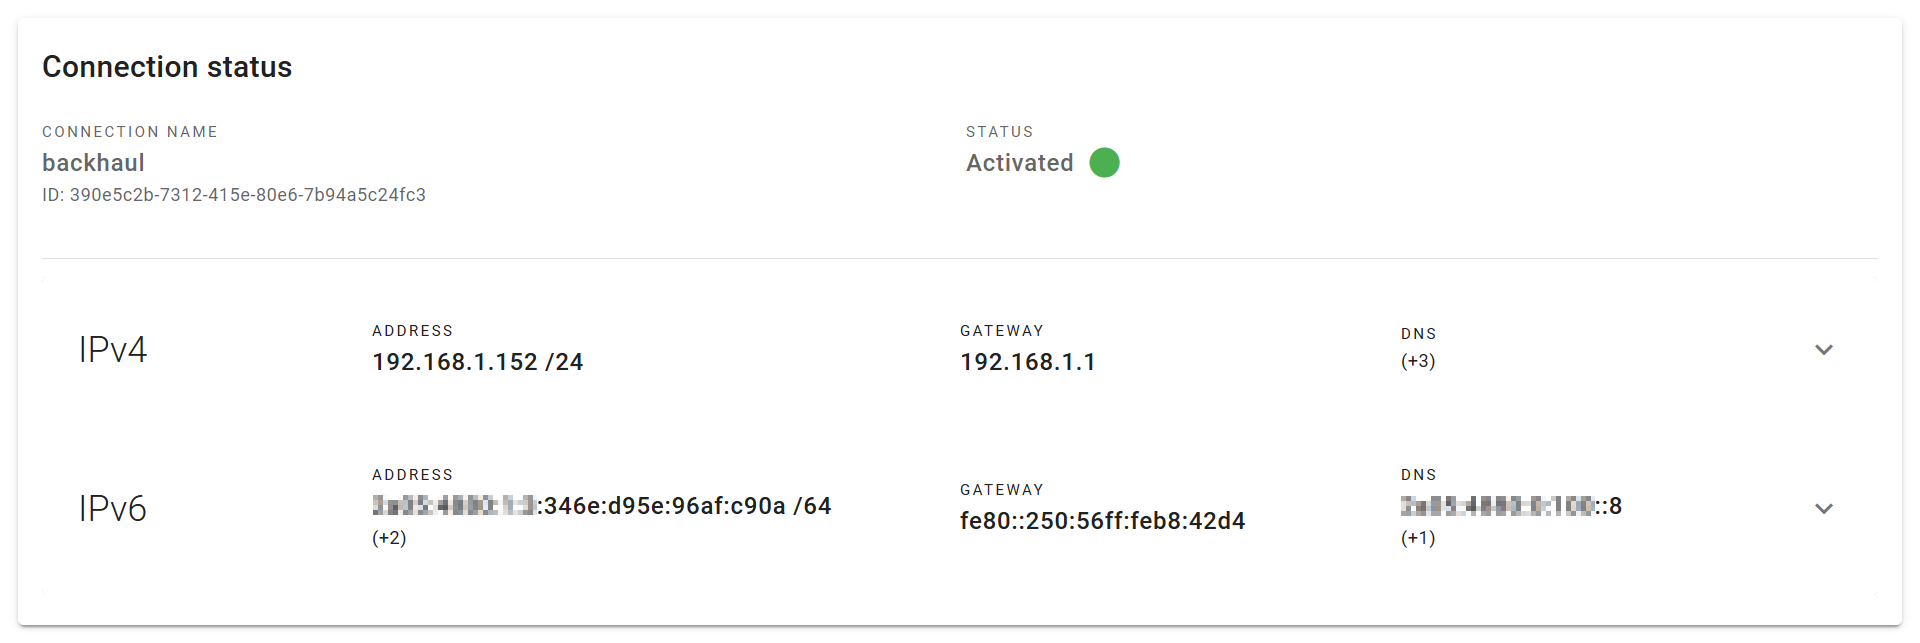
The Network settings page allows you to see and edit the IP configuration of the main interface:
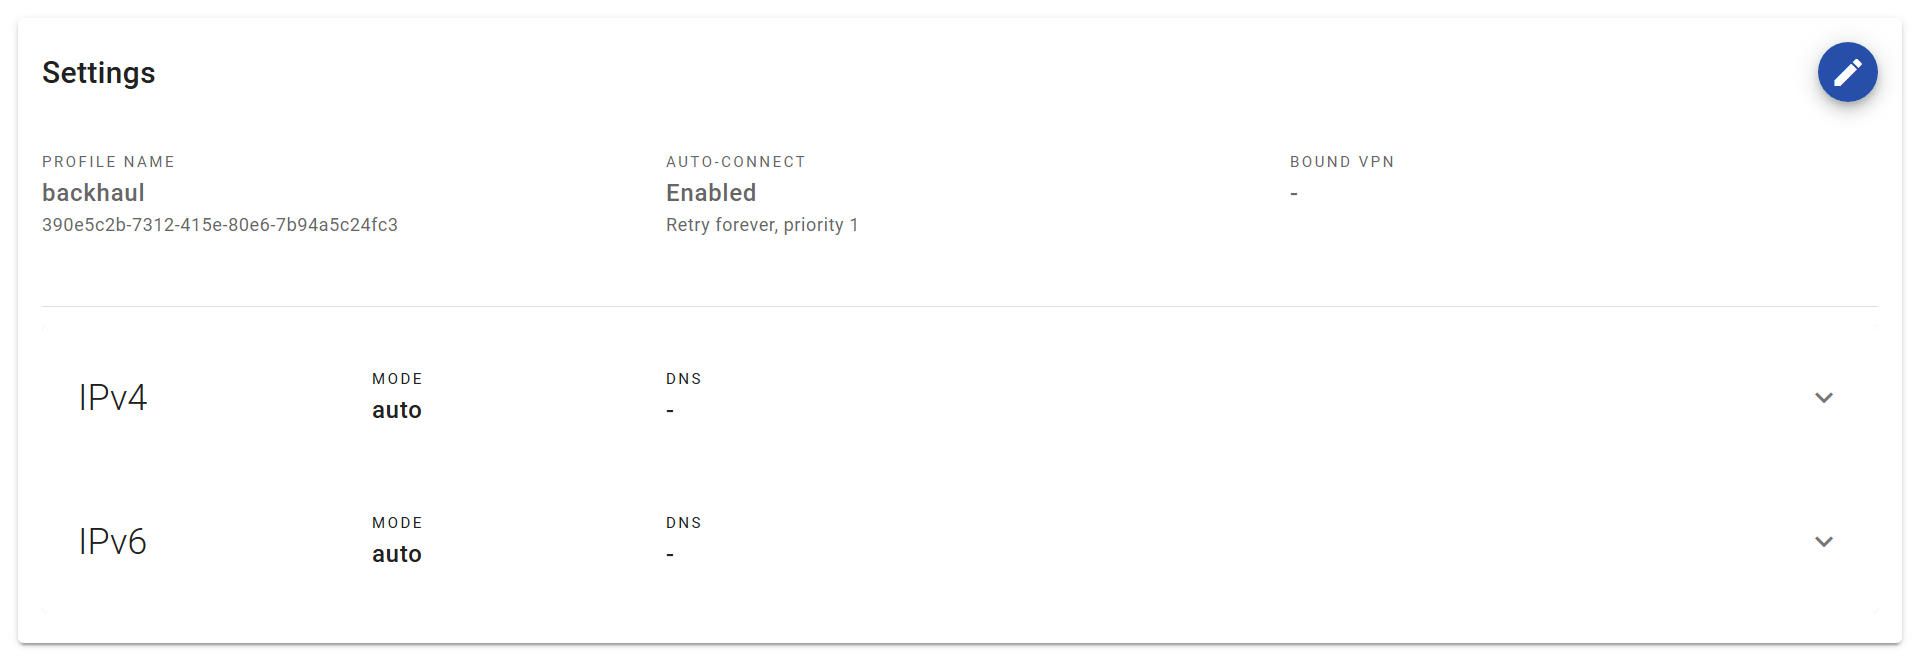
Click on the blue edit button under the "Settings" section and set your new configuration:
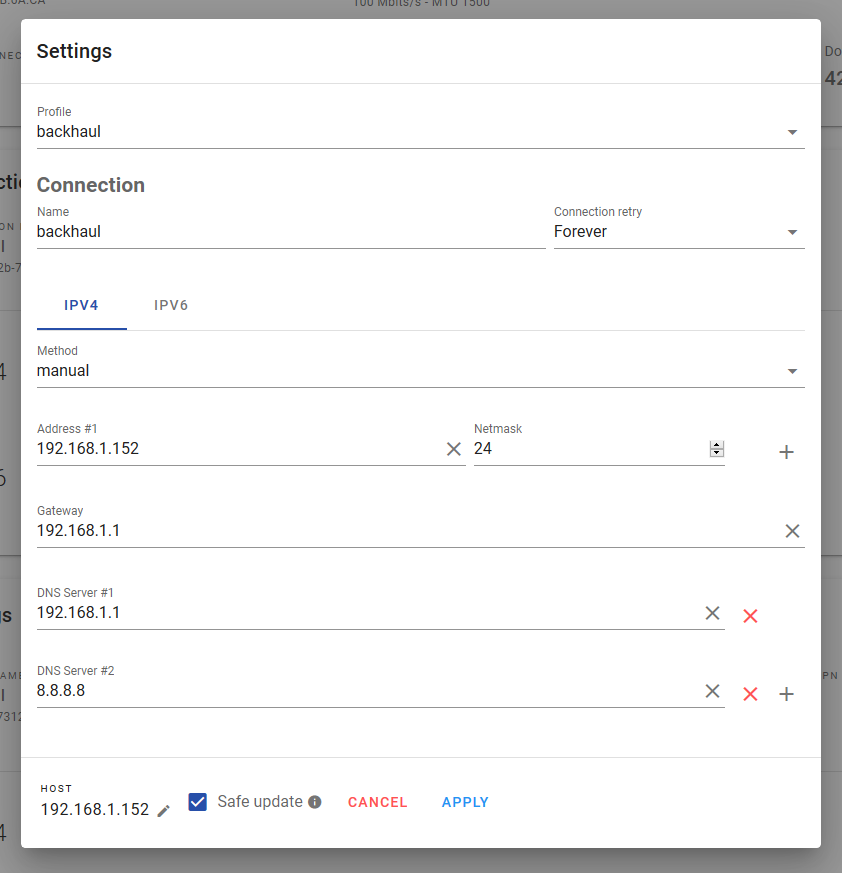
When done, click "Apply" to make the configuration active and persistent.
Safe update
The Manager UI allows you to do a safe update. When this option is checked, the Manager UI will try to reach the gateway after the configuration is changed. If the gateway cannot be reached anymore, it will revert to the old configuration.
The gateway address is inferred from the configuration and shown into the "Host" configuration field. You can change the future host address if it was not correctly guessed by the Manager UI.
You can create a new profile with your specific configuration:
sudo nmcli -a connection add type ethernet con-name static-custom ifname eth0 ip4 192.168.1.50/24 gw4 192.168.1.1 ipv4.dns "8.8.8.8 8.8.4.4"The new profile is stored in /etc/NetworkManager/system-connections.
To enable this profile, use:
sudo nmcli connection up static-customThis command will probably never show success has you lost connection to the gateway. You can now reconnect to the gateway with the new address.
To make this change persistent over reboot, you have to change the auto-connect settings of the old and the new profile:
sudo nmcli connection modify backhaul autoconnect false
sudo nmcli connection modify static-custom autoconnect falseManual safe update
If you need to apply a configuration change that cannot be done by the Manager UI, you can do it by using directly the NetworkManager. In that case, you can also use the Safe Update functionality to ensure you don't definitively lose connection with a remote gateway.
The Safe Update feature is a four steps process:
- Create a network configuration checkpoint
- Apply the new network configuration
- Wait for the new configuration to be effective
- Delete the configuration checkpoint
If step 3 fails, the configuration will automatically be reverted to the created checkpoint after a specified time.
Advanced configuration
For advanced configuration, you can edit the profiles directly in /etc/NetworkManager/system-connections or use the NetowrkManager command line interface: nmcli. You can find help on the official NetworkManager documentation.