Content of the kit
The WHR-L01-W01 Kit contains the following parts:
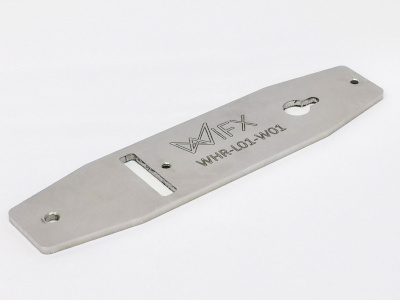
- 1x WHR-L01-W01
Stainless steel extension support for indoor wall mounting - 2x m3x6 flat (countersunk) head screw
Stainless steel screw with T10 torx matching - 2x DUOPOWER Fisher plastic wall plug 555005 5x25
- 2x 4x30 wood dome head screw
WIROX Steel screw with T20 torx matching
To install the WHR-L01-W01, you will need the following tools:
- 1x Torx T10 screwdriver
- 1x Torx T20 screwdriver
- Drilling machine and concrete drill bit in case of fixation in concrete
Installation instructions
Professional product
The LORIX One and the WHR-L01-W01 are intended to be installed and used by professional people.
These installation instructions are not focused on the installation of the fixation of the WHR-L01-W01 to the wall.
Attach the support to the LORIX One
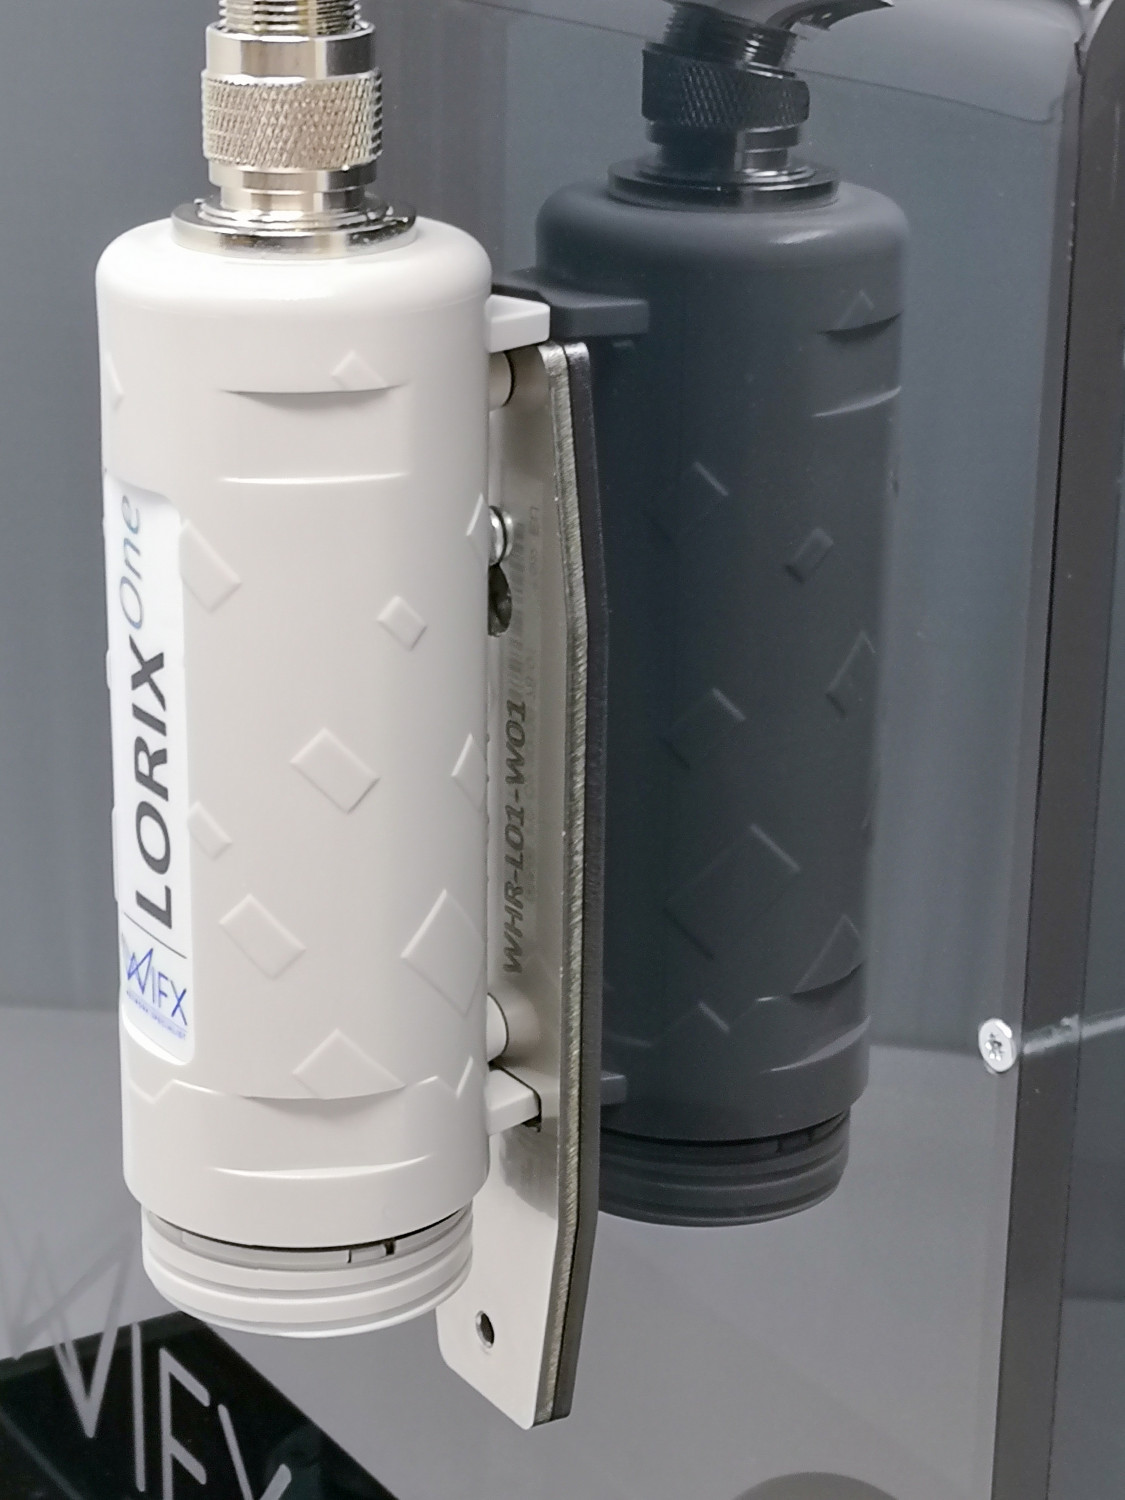
The WHR-L01-W01 is intended to be fixed on the LORIX One before any installation on the wall.
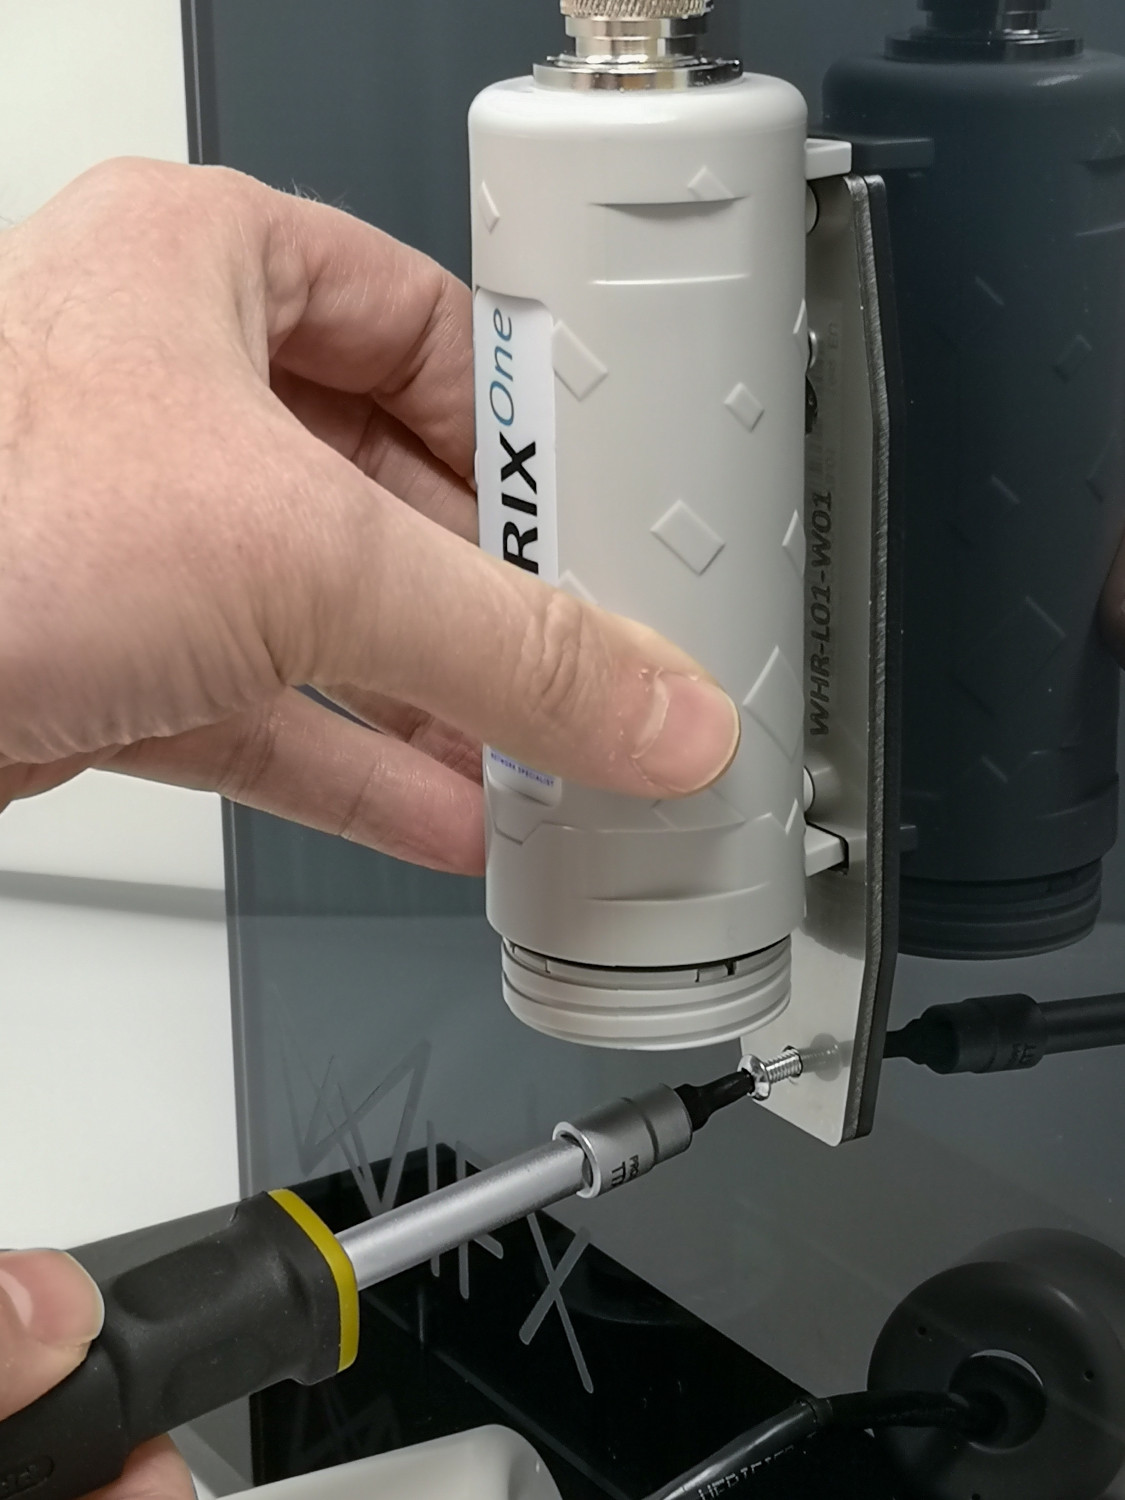
The first step is to install the support on the back of the LORIX One.
Use a torx T10 screwdriver to screw the two flat head screws at the back of the LORIX One (compatible model including the nut inserts):
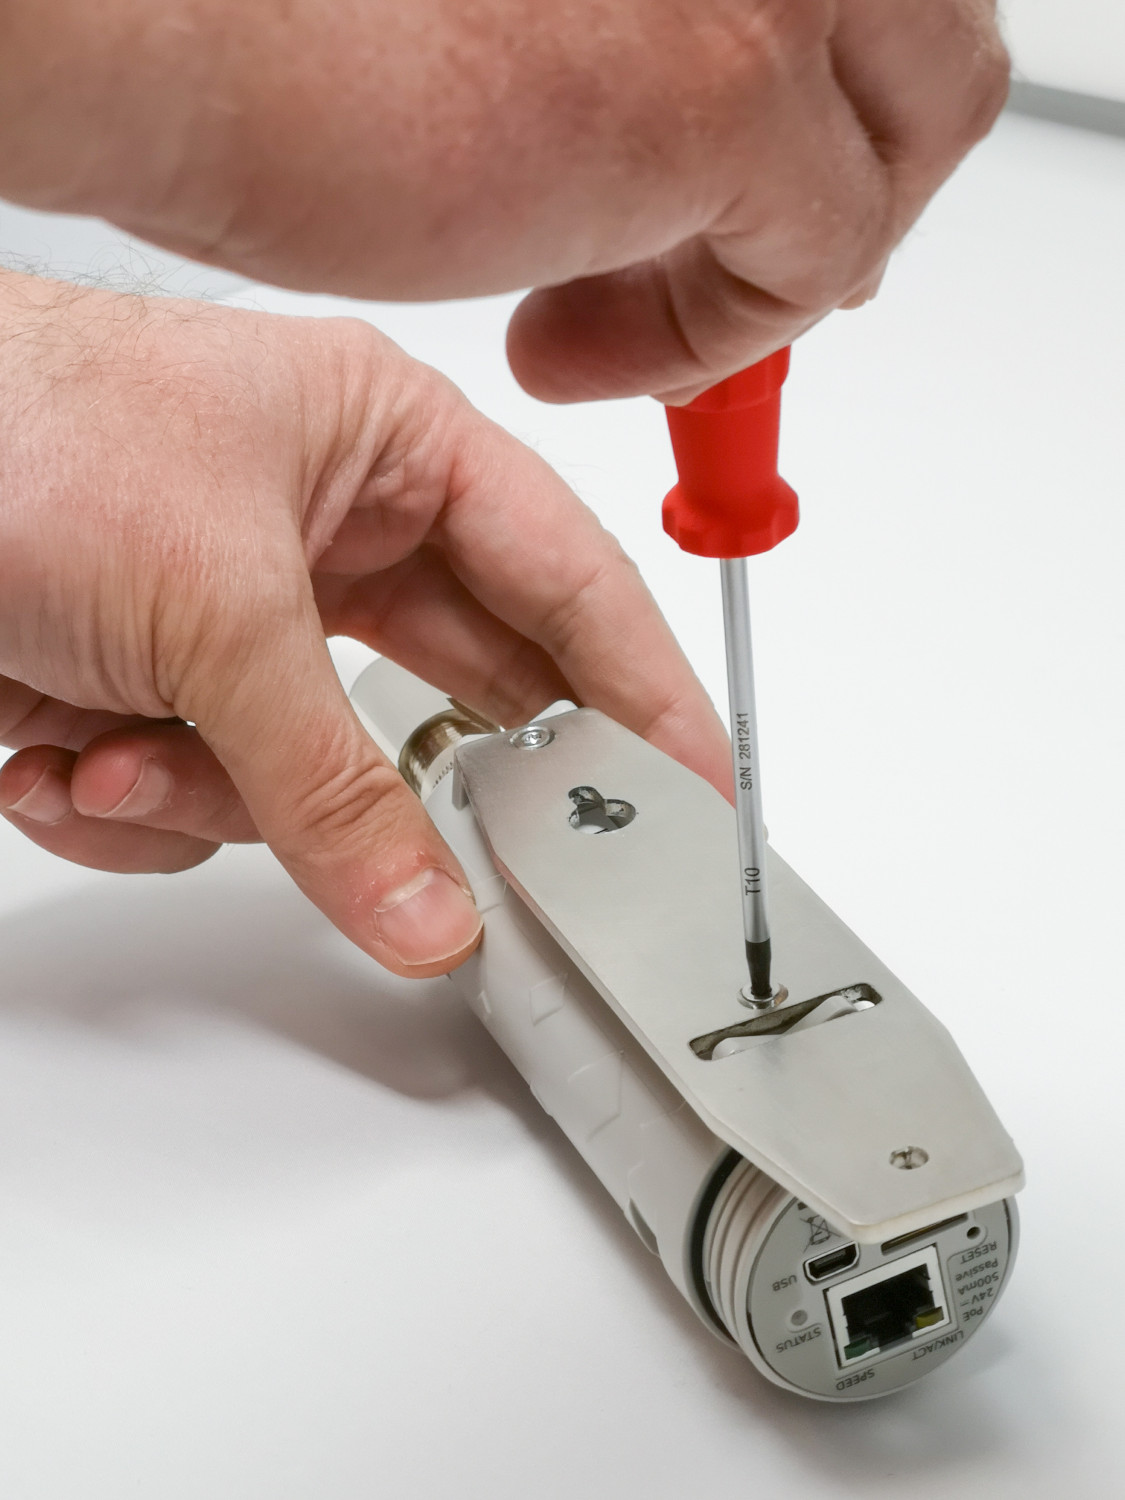
Be careful to fix correctly the two screws ensuring the support is not moving. Strength of screwing should be correctly adapted to avoid on the contrary any pullout of the metal insert from the plastic body.
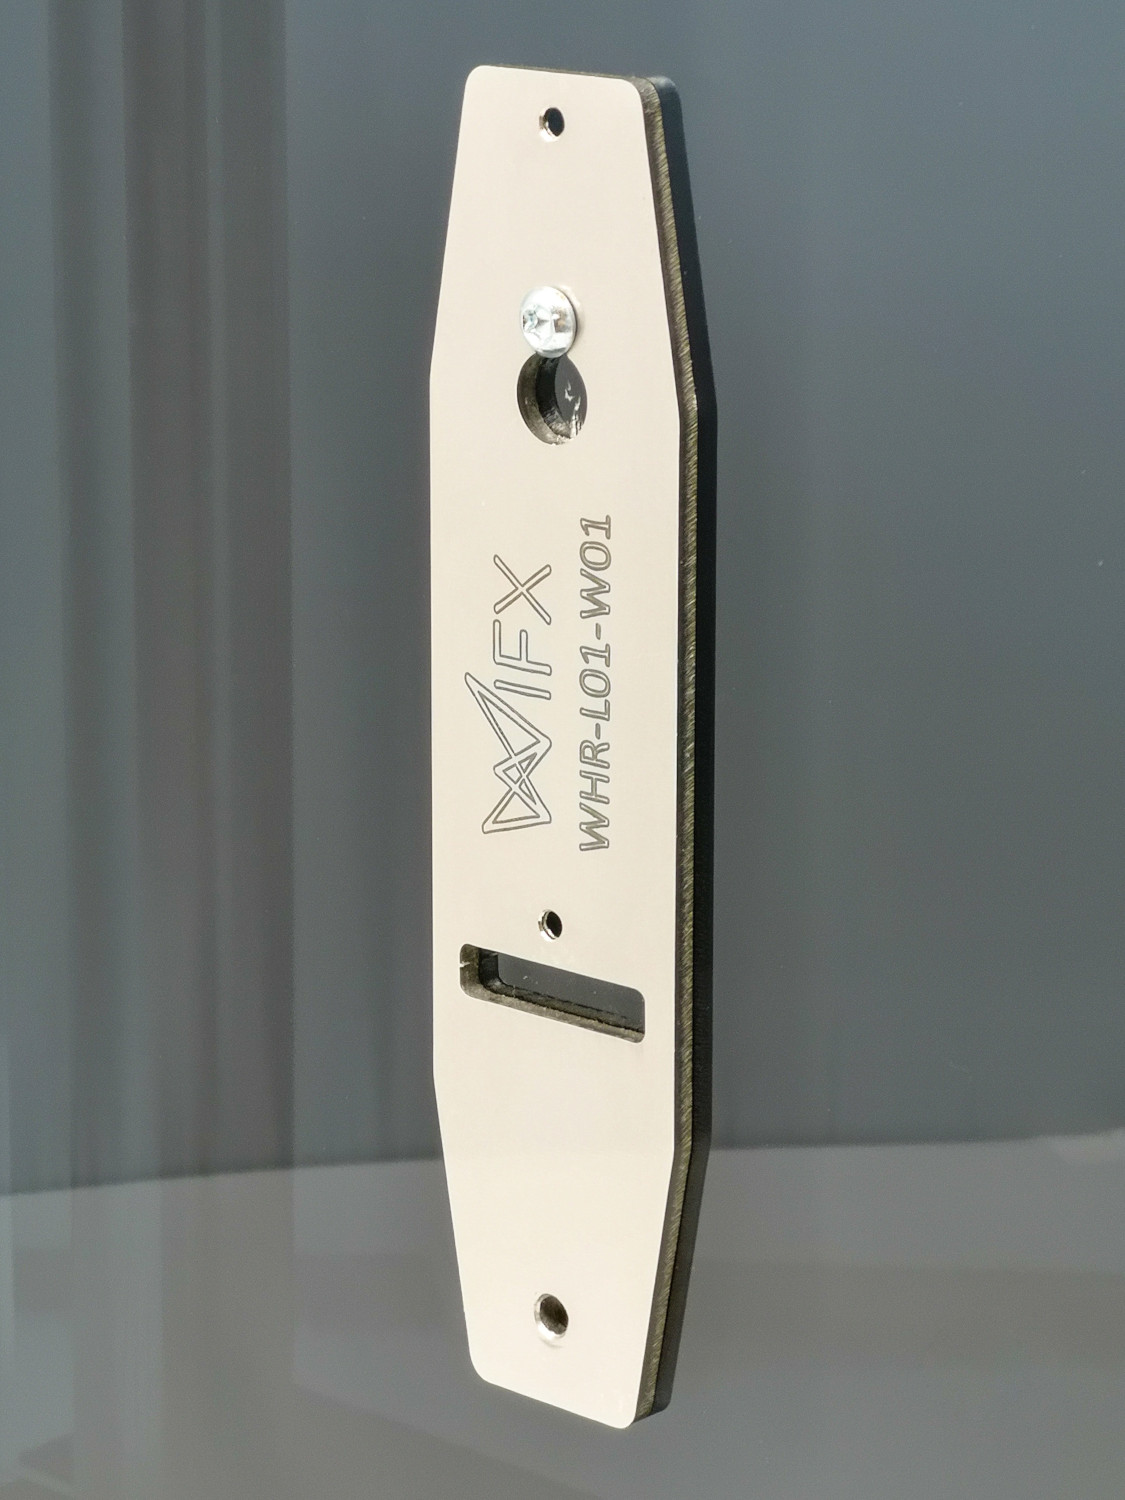
Support orientation
The WHR-L01-W01 has space for the screw on one side, make sure that the screws are in place when fully tightened and that the head surface matches the support's surface as shown in the picture.
Attach the LORIX One to the wall
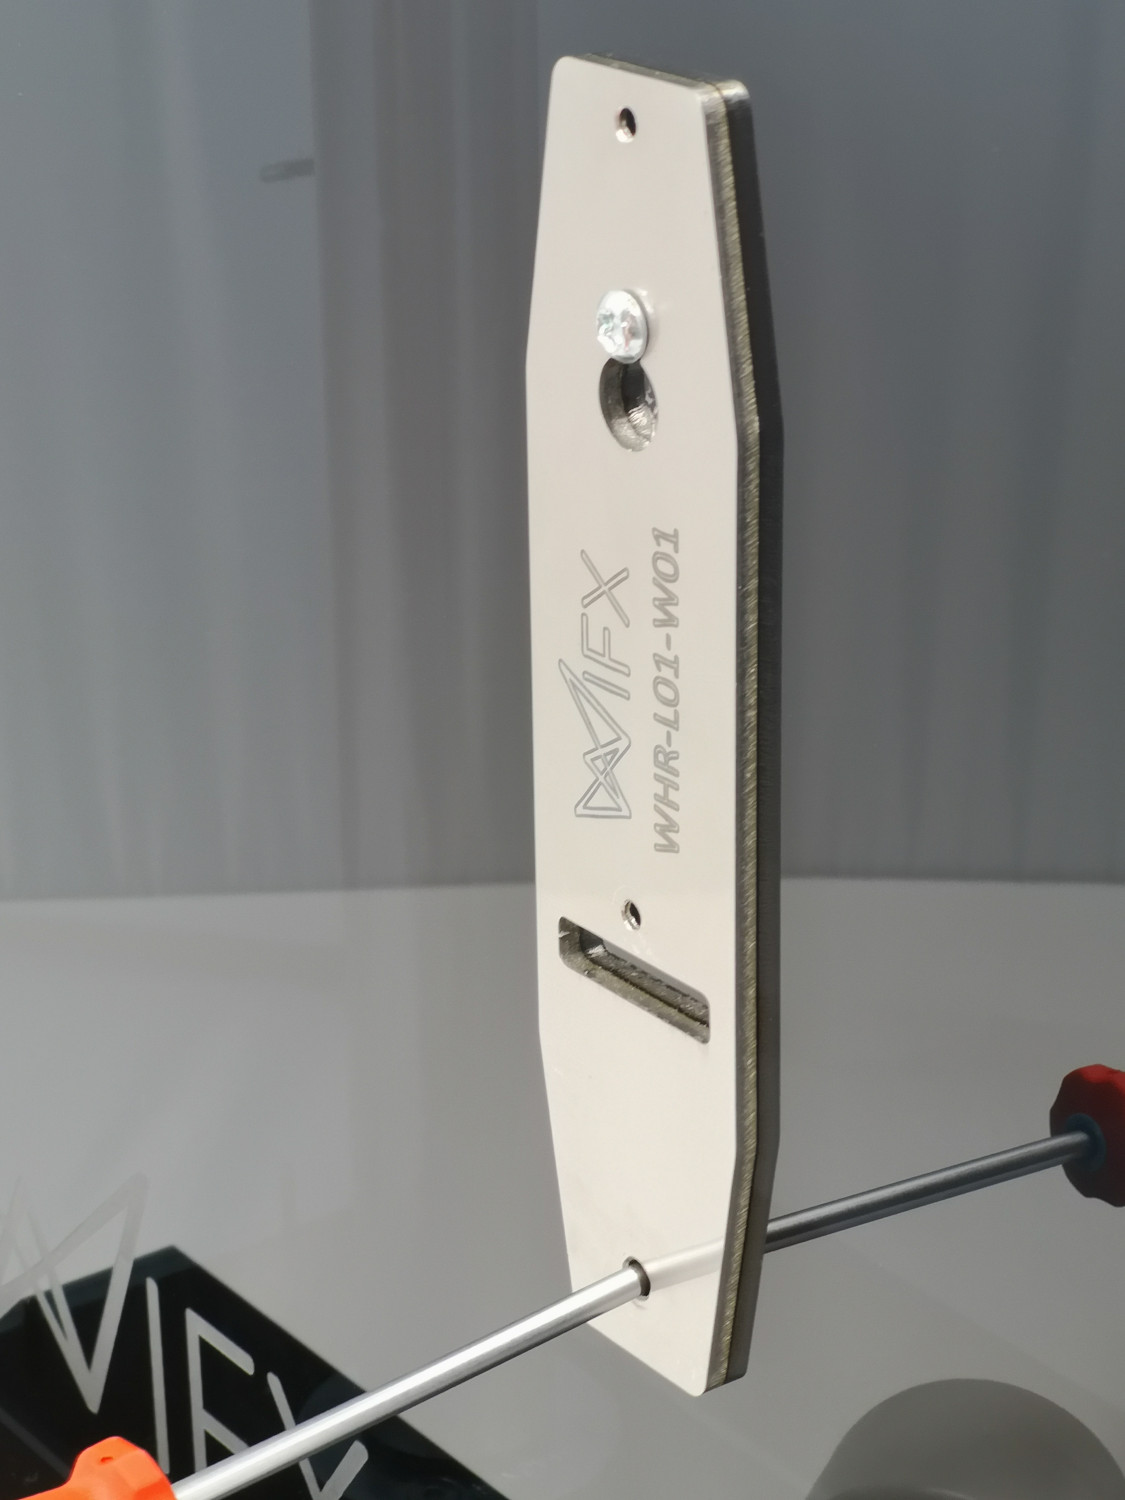
The mounting of the bracket in the wall is done in two steps. You first need to drill the first (upper) hole, put the plastic wall plug and screw the first 4x30 wood doom head screw using torx T20 screwdriver.
You must keep space for the support thickness. The support must fit as showed below (without LORIX One fixed on it for a better illustration):
Once this first screw in place, it's time to mark the place of the second hole in the wall:
Or with the LORIX One fixed on the support:
Once the second hole completed, you can place the plastic wall plug and screw the second screw as showed:
Final control
As this installation is meant to be kept indoors, there is no special aspect to be taken care of. However, it is important to avoid overloading the cable gland and the internal Ethernet connector by securing the cable correctly.